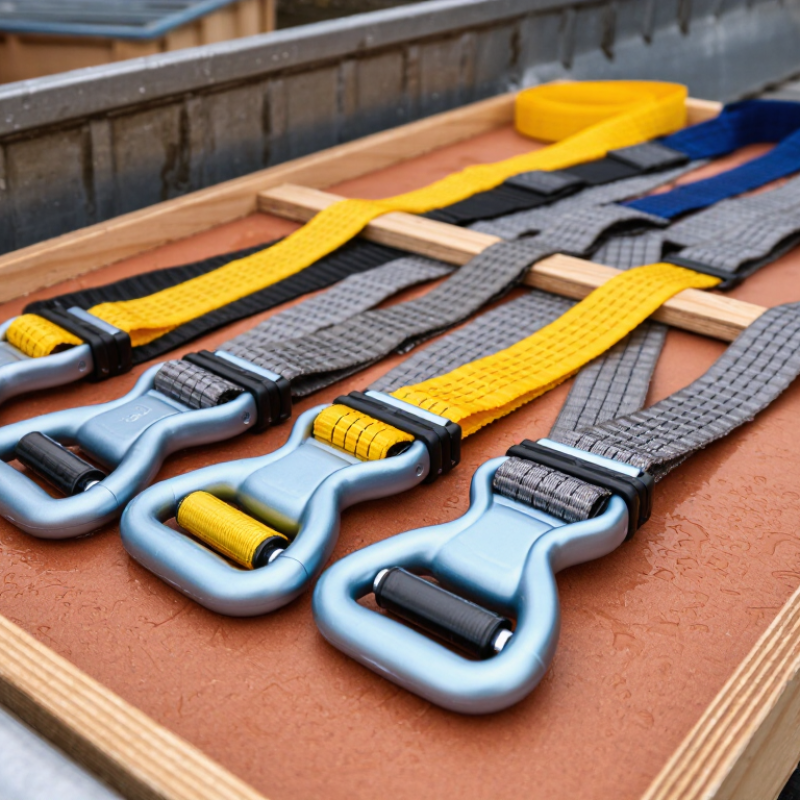
| 1. Match the Working Load Limit | Choose a strap with a Working Load Limit (WLL) suitable for the cargo, anchor points, and tie-down arrangement. | Look for a clearly marked WLL and confirm that it is not confused with breaking strength. | Never exceed the lowest-rated component in the complete tie-down system. Use additional straps when required by the load and transport conditions. | Remove straps with missing or unreadable capacity labels until their rating can be verified. |
| 2. Select the Correct Webbing | Consider webbing width, length, material, and resistance to the environment where the strap will be used. | Check for cuts, fraying, pulled stitching, melted fibers, chemical damage, or severe fading. | Keep the webbing flat and avoid contact with sharp edges, hot surfaces, corrosive liquids, and abrasive corners. | Clean dirt with mild soap and water when appropriate, then allow the webbing to dry completely before storage. |
| 3. Inspect the Buckle | Choose a buckle that is compatible with the strap width and provides smooth, controlled tensioning. | Check for cracks, distortion, sharp edges, corrosion, loose parts, and a mechanism that does not close or release correctly. | Thread the webbing according to the buckle design and confirm that the buckle is fully closed before moving the load. | Keep the buckle free of sand and debris. Do not use a buckle that slips under normal hand tension. |
| 4. Verify the Anchor Points | Use strong, properly positioned anchor points that can safely handle the expected tie-down forces. | Inspect anchors for looseness, cracks, deformation, corrosion, or damage to the attachment area. | Attach hooks or loops only to suitable anchor points. Do not connect to fragile trim, movable parts, or unsuitable hardware. | Repair or replace damaged anchor hardware before using the tie-down system again. |
| 5. Protect the Cargo and Strap | Select edge protection and strap features suited to the cargo shape and surface finish. | Look for areas where webbing could rub against sharp corners, rough surfaces, or edges during transport. | Use corner protectors, sleeves, or padding where needed. Do not twist the webbing or allow it to bunch at contact points. | Replace protective sleeves that are torn, hardened, or too worn to prevent abrasion. |
| 6. Tension and Secure the Excess | Choose a strap length that allows secure attachment without leaving excessive loose webbing. | After tightening, check that the buckle remains locked and that the strap does not loosen when the load shifts slightly. | Tie, clip, or otherwise secure loose strap ends so they cannot contact wheels, moving parts, or the road surface. | Recheck tension shortly after starting the journey and whenever the load, weather, or road conditions change significantly. |
| 7. Store and Retire Straps Properly | Use straps made from materials suitable for the storage environment and expected service conditions. | Before storage, inspect the complete assembly, including webbing, stitching, buckle, hooks, and labels. | Store straps clean, dry, loosely coiled, and away from direct sunlight, heat, chemicals, rodents, and sharp objects. | Retire any strap showing cuts, burns, chemical attack, damaged stitching, severe abrasion, distorted hardware, or unknown history. |